Thursday, September 06, 2007

Doodle, doodles, everywhere!

~~~~~~~~~~~~~~~~~~~
Are you sick of seeing my doodles yet? Too bad! Because I'm having way too much fun with these! My close friends know that I love Halloween, hence the witch ATC! And along with that goes a love of the "Wizard of Oz" and now the "Wicked" series. These book pages are a great place to house some of the great quotes I've been collecting on scraps of paper for years. The black spread here started with the quote, then sort of evolved into an Oz spread. I hadn't intended it to have any color at all, but when I thought I was finished, I just had to add the red glitter to Dorothy's shoes! And I'm not a big fan of glitter, but how else do you get ruby slippers to sparkle?!
~~~~~~~~~~~~~~~~~~~~~~~~~~~~~~~~~~~~~~~~~~~~~~~~~~~~~~~~~~~~~~~~
Oh - I should tell you about the pens I've been using so far...I'm in love with this gel pen made by Pentel, called EnerGel. It goes on so smoothly and is a dream to even just write with. But alas, it isn't waterproof so when I'm going to add color over top of it, I have to resort to the more expensive but waterproof, Staedtler or Micron pens. I do like the really fine lines I get with these pens though. The Pentel is a .5 mm pen, while the other two come in a variety of sizes and I like the .01 the best. Really, really tiny lines and doodles are possible with them!
~~~~~~~~~~~~~~~~~~~~
Then of course, I had to do more bugs! I hope you can see these close up to see all the little doodling going on inside the bug shapes.

A fellow artist and new friend, Colleen McGinty, works for Faber-Castell and she kindly sent me a couple sets of their markers to try for my doodling, so they will be used for my next doodles. I'll let you know how they work! Right after I get done soldering some new pins I have in progress...are you starting to see why I called this blog "Art Frenzy"? LOL!

Doodle ATC's


Here are some of the ATC's I've been doing in spare moments. I do these in the car at lunchtime while listening to books on my MP3 player. I even keep a few blank ATC sized cards next to the phone at work for those times when I'm on perpetual hold! Now my boss won't have to wade through my doodles on the sides of all the invoices we pay! The eyes may look a bit odd and truly are not my normal thing to draw, but I saw another artist drawing eyes and thought what a good way to build your skill at drawing parts of the body...and DOODLING at the same time! The colored ATC's here were done with more of the ColorBox Cat's Eye pigment ink pads. I did find though that if I put the colored ink on last, it sort of greys out the nice black gel pens I'm using. And if you put it on the card first, you have to give it a few days to dry really, really well, or the gel pens don't want to write over it.

More doodling


~~~~~~~~~~~~~~~~
A couple more pages from my "doodle book". The leaves page is actually the first one I tried. I gessoed the page first. I like that you can see a ghost of the original type in the background. I am not great at freehand drawing, so on scrap paper, I sketched a couple leaf shapes, then cut them out and used them as templates to draw around. Then I sectioned off the inside of each leaf and started filling in the sections with doodles. Lines, dots, circles, stars, wavy lines, spirals, you name it! After the leaves were all doodled to death, I used ColorBox Cat's Eye pigment ink pads to smear on color, using a separate makeup sponge to move and blend the color to my satisfaction. The black page is just black gesso (I'm now in LOVE with black gesso! so rich and dark!) with white gel pens for the smaller lines and the bigger stuff is done with one of the pen-type correction pens for great coverage. I have to give credit here for the little "bug" shapes. A totally awesome artist - Ingrid Djikers - is where I saw these little bug shapes the first time. I've since seen them in a number of artists work, so evidently I wasn't the only one who fell in love with them! Ingrid does some amazing things with her bugs using collage, but I saw them as perfect little shapes for more...you guessed it!....DOODLING!

Doodling.....


Oh boy - don't read this if you don't want to become addicted to doodling like I have! If you love details this will be right up your alley! One of my friends, Lou McCulloch shared her book "The Humument" with our club some time ago. I fell in love with this book and all the lovely "doodling" that the author, Tom Phillips did over top of the pages of an old Victorian novel ("The Human Element"). I was inspired to try my own hand at "found text" and "found poetry" - obliterating most of what was on the pages originally and only leaving some (or sometimes none) of the original text while adding my own art on top and around it. I enjoyed playing with trying to make a free-form poem out of the original text, but for me, the big draw to this genre of art, is the doodling. I feel that I am primarily a left brained, organized, toe-the-line sort of person. I work with numbers and facts all day in my job and that organizational bent of mine follows me into my personal life as well. When I'm doing any sort of art, I feel like the right brained part of me kicks in goes to war with my left brained, tightly organized self, trying to burst free of the "rules" I impose on myself. This doodle art, as I've come to call it, allows both parts of me to meld nicely and feel right at home! And the tiny little patterns I draw on the pages is very relaxing and stress-free and sort of....well....mindless! I'm definitely addicted to this and have even taken to carrying ATC sized cardstock in my purse to "doodle" on. I'll post some of those here too for you to see. Hope you're inspired to give this a try too!

Tuesday, September 04, 2007

Autumn Fire


One of my silk scarves - I just love doing this silk dyeing. It is so rewarding to apply the dyes and watch them blend and move on their own, then I can add my own touches with alcohol, chemical water or salt to move the dyes even more. There is just something so scrumptious about the colors and the sheen of the silk, once the dye has been steam set and rinsed and dried is without compare! I took a class at the university where I work from a great teacher - Joann Giordano and I'm eternally grateful to her kind tutelage for getting me started working with this medium.

Room Boxes


As much as we all hate to think about it, Christmas is less than 4 months away. And for those of you who like to make gifts, I thought I'd share one that I've done in the past and which has been fairly well received by friends and family. It looks like a gift box from the outside. It is covered in some beautiful fabric of your choosing. And when you lift off the lid, two of the box sides drop down to lay flat on the table. Inside the remaining two standing sides of the box I put a small Christmas tree - decorated however you like with gifts underneath and any other bits and pieces you want to add. The two sides that drop down flat can each hold a small vignette of furnishings - cupboards, chairs, rugs, whatever suits your fancy. I usually try to coordinate some of the details of each room box to the person it will be given to: a quilting or fabric them for a friend who loves to sew, a music room for a friend with a penchant for the tunes, etc. I've created some instructions - by trial and error for these boxes and will post them here in a day or two, so check back if you're interested in making one of these fun gifts!

Sunday, September 02, 2007

Digital Collage

I know people who do digital collage almost exclusively, but I must admit I've always thought that if I did it, I'd somehow be "cheating". Well, I finally gave it a try and it was fun! And what I love about it is that now that I've done the work, I have a digital file of this image that I can use repeatedly. I can sell cards with this image, or just make some fun art for my own use or for gifts. I think it took me a bit longer than doing actual collage, but then the return on that investment of time is larger and longer lasting, so it is definitely worth it. I did this in Photoshop and as I'm still learning all the different bells and whistles of that program, I'll likely get faster as I use it more. This little girl only had a left arm showing and I took a copy of that arm and flipped it to use as a right arm. And I did use some ink and stamps to sort of "finish" it - see the dots, spirals and numbers? I just had to do some stamping on it! And I added a bit of that gold foil here and there after layering up the image with the brown and blue cardstock panels. I don't think this will ever replace my love of working with diffferent mediums and materials, but it was FUN and I'll for sure try it again sometime!! If you haven't tried digital collage yet - go ahead - give it a go!

Sunday, January 28, 2007

Oh So Charming Swap - continued

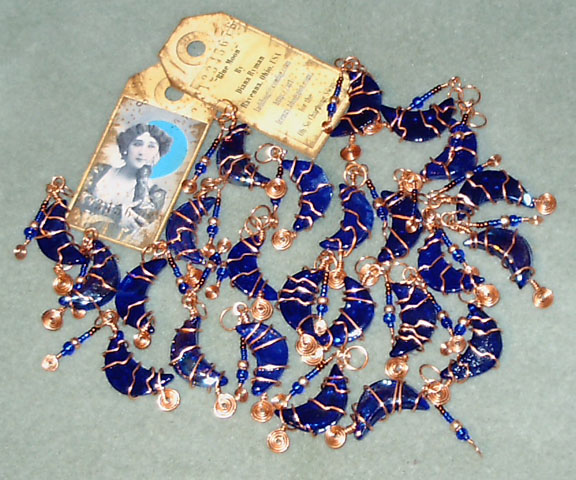
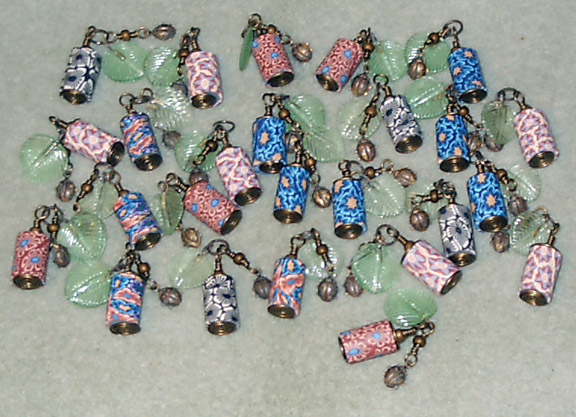
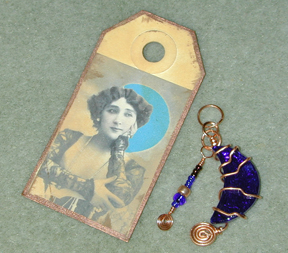
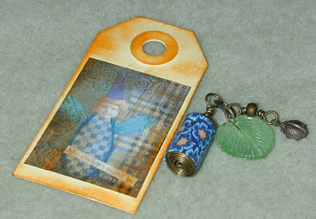
Before mailing off my charms for the Oh So Charming Swap I took pics of the whole bunch of charms. They just seemso much cooler all together for some reason! Forgot to take a pic of the little tag I included with my "Fly Away Home" charms though. It was done in a similar fashion to the one shown with my "Blue Moon" charms. I've seen some wonderful charms in the postings for this swap so far and can't wait to get them all in my hands to ooh and aah over. It seems that a lot of charms are done using recycled or "found" items. Wish I had thought of that too, but we'll have a nice mix this way.

Thursday, January 25, 2007

Wire-Worked Bracelets


Well now that I've made a bunch of charms and
will be getting a bunch in the swaps I'm in, I
figured I better have a bracelet on which to hang
them. Also, my group of close friends in the
"Radish Ladies" wanted me to demo how to make a wire bracelet for THEIR charm swap. So I set to work playing with copper wire to see what sort of linked bracelets I could find to make.

I admit to finding link designs all over the internet and I reproduced them to make my own bracelets. Some were harder than others. Two were free-formed using just chain nose and round nose pliers. The one with heart links and the one with a sort of "S" link were formed using a Thing a Ma Jig with little pegs to bend the wire around - and pliers too.

Oh So Charming Swap


I just had to try my hand at some of the very cool
hand made charms I've seen posted on the 'net. So
I joined the art-e-zine sponsored "Oh So Charming"
Charm Swap that is hosted by Dawn Sellers. What
fun! And of course, I can't ever seem to just do
something "a little bit" - I had to make TWO sets
of 25 charms! Now two of my other (face to face)
groups are also doing charm swaps within their
memberships.

My first charms - "Blue Moon" were made with
some little cobalt blue glass mosaic pieces I found
at the craft store - wrapped with 18 ga. copper wire.
I added a little dangly with more copper wire and
some extra beads and added an extra jump ring for
hanging on the bracelets.

The second batch of charms - "Fly Away Home"
were made with a purchased polymer clay,
flower-caned bead that I found in the 25 cents a
pack aisle - whoo-hoo! - at the craft store. I used
antiqued brass wire for this one and made two spirals
for the top and bottom of the bead, plus a loop at the
top and added a dangly with a ladybug and another
little antique brass bead, all hung off another big jump
ring.

If you get the chance to participate in a charm swap,
I highly recommend it. Even 25 charms don't take
huge investments of time or money and with a little
warning, you can even be on the lookout for "found"
objects to incorporate. Can't wait to get my swap
outs back and see everyone elses handiwork!

Friday, May 26, 2006

Bookbinding - another love....


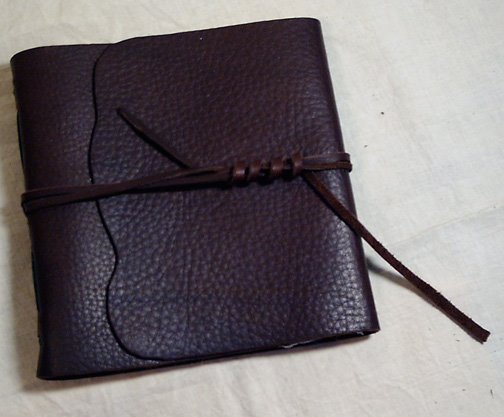
This is a soft leather journal I created in a class with Lisa Ohmer at the recent Artiscape weekend. She is a superb teacher - very patient - and gives excellent directions. I think I'll be trekking south to Columbus whenever I can for more classes with her at European Papers.

Quilting

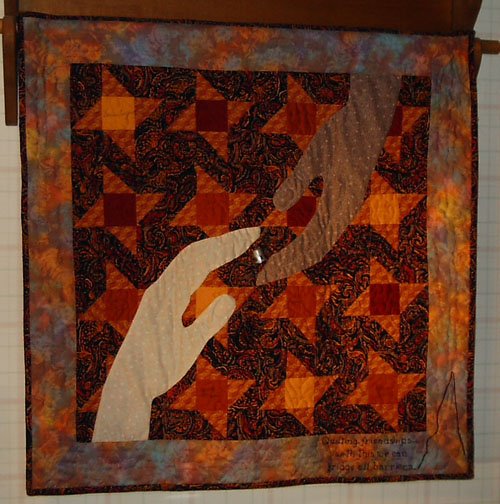
Speaking of returning to my roots - this is one of the quilted wallhangings I've done. I'll try to post more in the coming days. Once I figure out how to get decent shots of them. It is hard to get good detail in a flash picture I'm finding....

This piece is called "Quilting Friendships" and was a statement on how the shared love of quilting can help to bridge gaps - in race or otherwise - and provide a basis for some wonderful friendships at the same time.

You can also alter fabric...

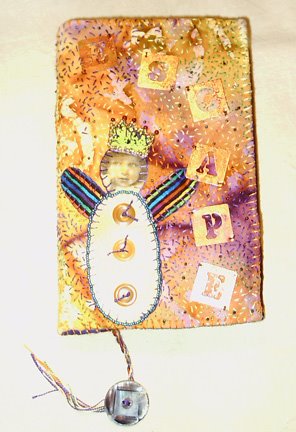
This is my first attempt at doing anything altered with fabric. I started out my crafting life as a quilter, so this was a natural return to my roots. Many thanks to my friend, Linda Koch for showing us how to bead, embellish, etc. on fabric and for sharing the inspiration of her gorgeous pieces with our Art Gang Ohio group!

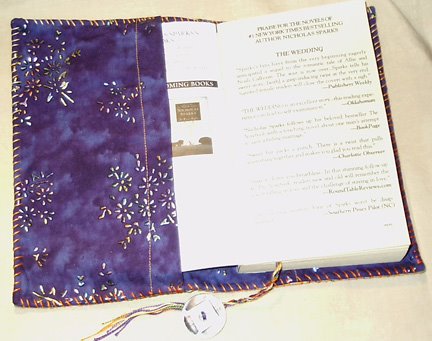
I am also an avid reader and a book - generally a good mystery is never far from hand. So making book covers with my embellished fabric was the perfect place for these fun techniques. The hardest thing for me was remembering that unlike regular hand quilting, in this case you WANT the stitches to be big and irregular!!!! I've got several more of these book covers in progress that I will be offering for sale on eBay in the next week or so.

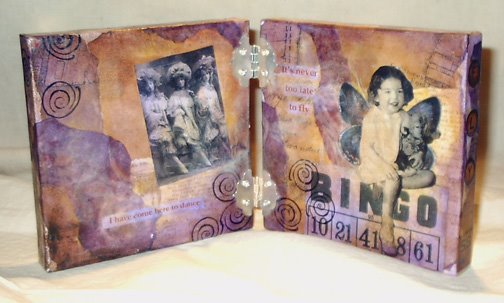
More beeswax collage


I love beeswax! This piece was done on two 6" x 6" canvases, hinged together. I began by layering and collaging various papers, stamps, pigment inks (direct to paper), images and other ephemera - gluing it all down with a polymer medium. Then coated all with the beewax. It wasn't until weeks later that I learned you can actually apply the papers, etc. with the beeswax and leave off the polymer medium all together.

Tuesday, May 23, 2006

Beeswax Collage

This is my first try at beeswax collage, but oh, what fun! And the smell is heavenly. After creating the first two pieces one evening, I left them in the studio - and when I returned the next morning, it was like walking into a honeypot! Yum! The beeswax (I get it from a friend who raises bees) leaves a nice texture too - one that you can make thick or thin to suit yourself.

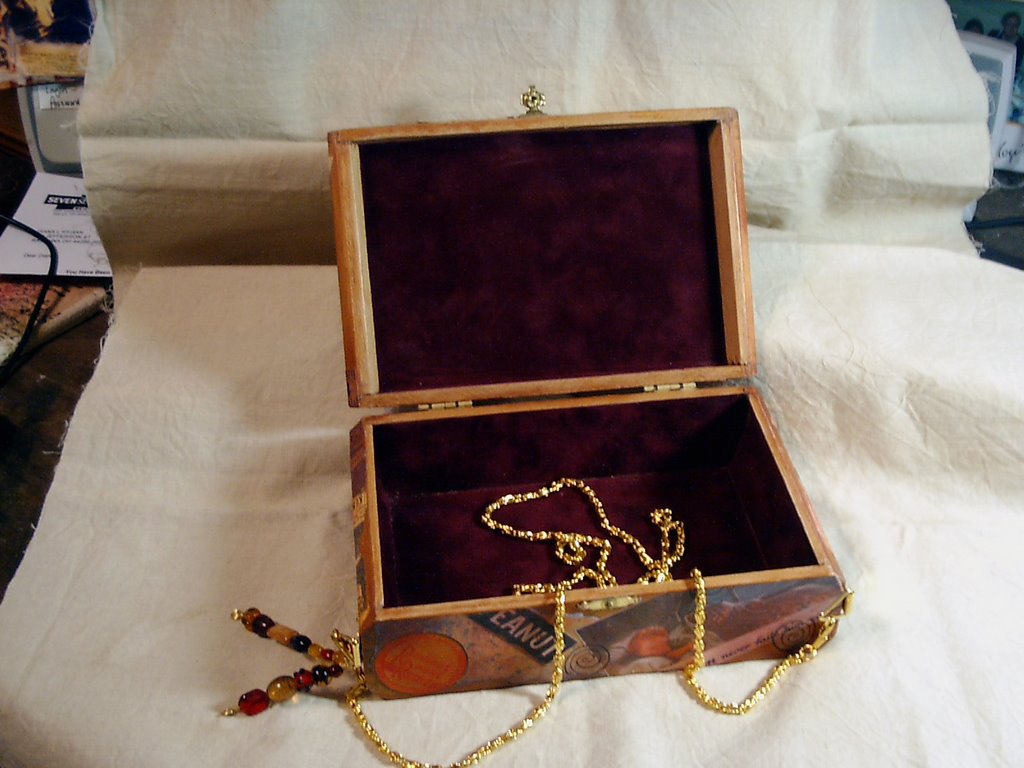
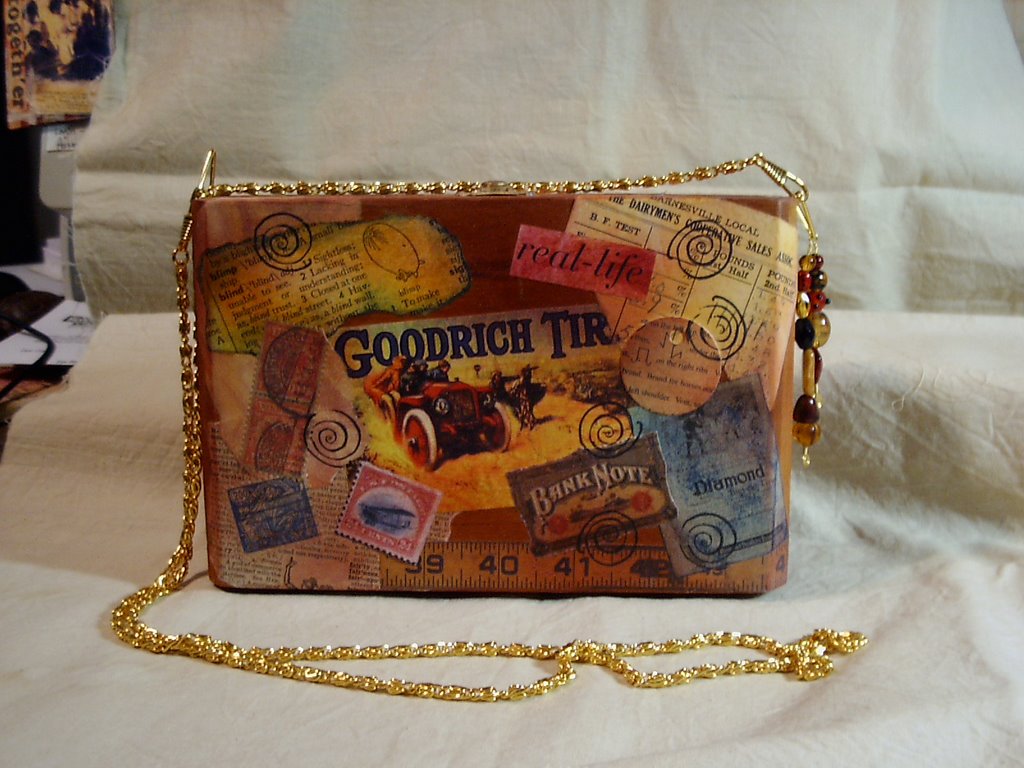
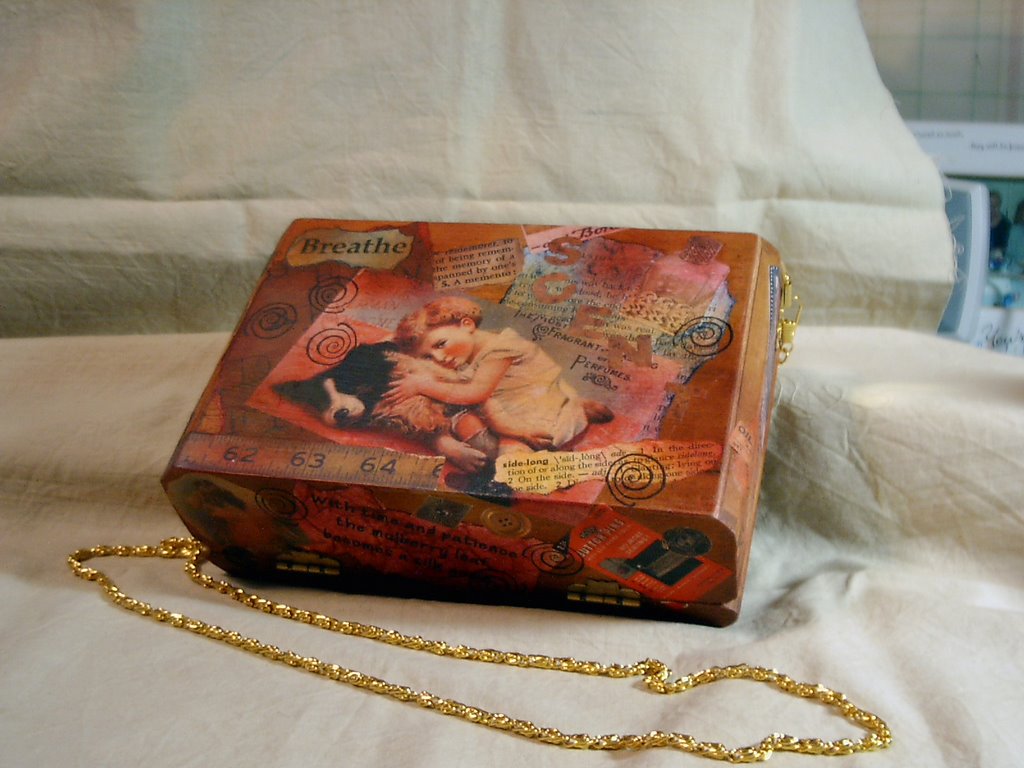
Another cigar box purse


This collaged cigar box purse really was right up my alley - besides being paper artsy, it is also of a historical nature. Did I mention my love for genealogy and history? But alas, it sold to a nice lady in Iowa in one of my recent eBay auctions....

Collaged Cigar Box Purses


Yet another of my obsessions - one never knows how these will look when starting out....at the end of the journey through inks and paints and ephemera you (hopefully) end up with something fun and interesting. I love using the beautiful wooden cigar boxes to create a very chic purse! And they're selling fairly well on eBay too!

More Secret Gardens


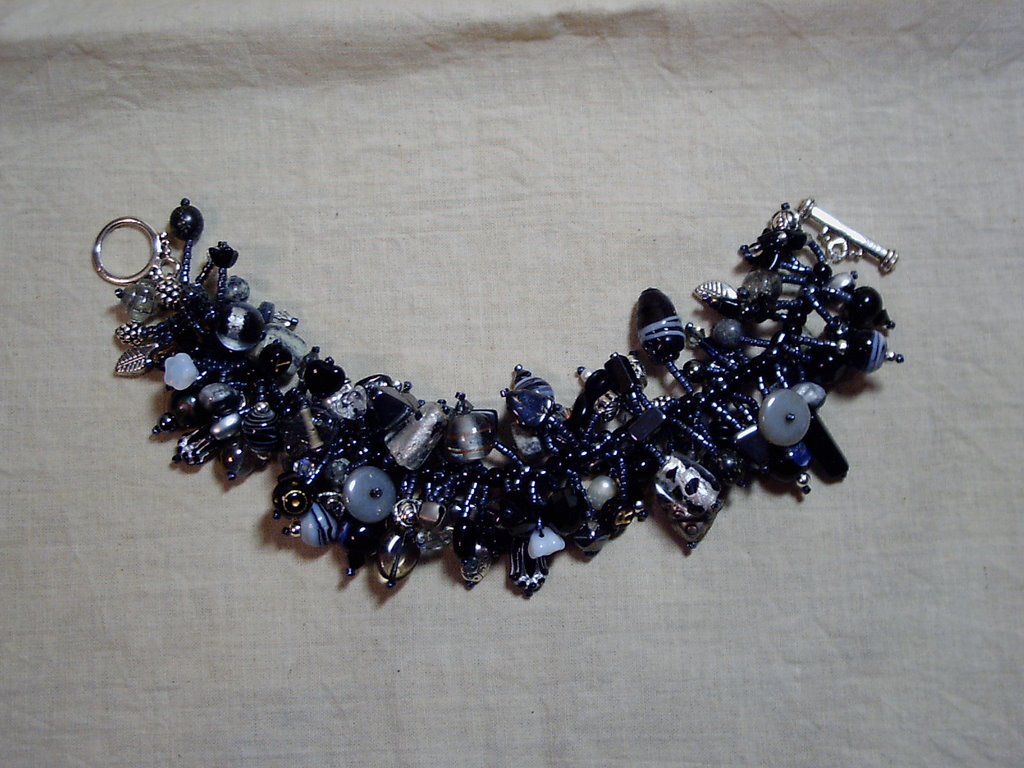
This black, silver, white and grey Secret Garden bracelet weighs a ton! I love how these bracelets showcase really special beads and you never know what you're going to find in there!

Beaded

Secret Garden bracelet - it is so much fun to wear! See what I mean about being stuck in a rut color-wise? At least, this one is for sale (I won't mention that I have a similar one already!) by me on eBay. See link below if you're interested in seeing my auctions. http://search.ebay.com/_W0QQsassZladibugged

More beaded pieces


This is a spiral wrap (spring wire) bracelet I made and wear often. These are my favorite colors. I really am in a rut and must broaden my color palette....